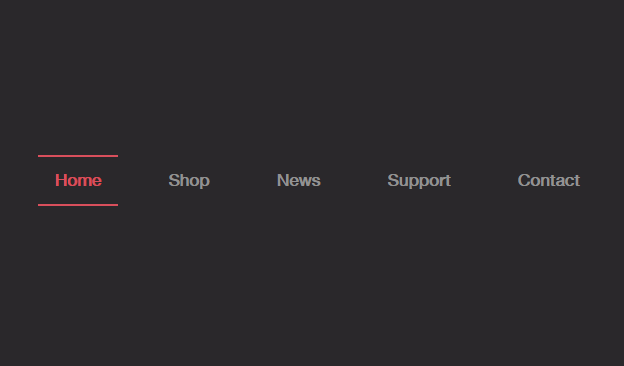
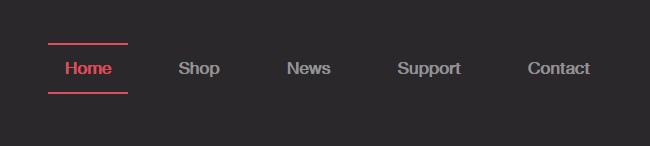
Line Menu Stylesはラインを使ったスタイリッシュなメニュー26パターンです。
ライン要素をデザインに取り入れることで、斬新なメニューを実装しています。
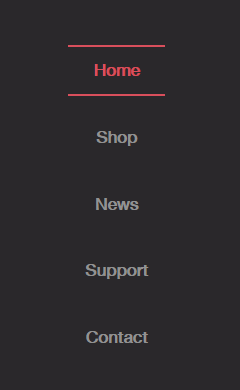
レスポンシブにも対応していて、スマホではメニューが縦に並んで見えます。
いずれも、CSSとJavascriptだけで実装可能です。
デモ
デモページを用意しました。
ダウンロード
サイトの「Download source」ボタンからダウンロードできます。

実装方法
まずは、ダウンロードしたフォルダにあるcomponent.cssを読み込みます。
<link rel="stylesheet" type="text/css" href="css/component.css" />
デザインを整えるためにスタイルを調整します。demo.cssを読み込んでもいいのですが、余計な要素が入っているので、最低限に削って、下記だけでも大丈夫です。リンクカラーなどは変更してください。
*,
*:after,
*:before {
  -webkit-box-sizing: border-box;
  box-sizing: border-box;
}

a {
  text-decoration: none;
  color: #4e3c3e;
  outline: none;
}

.link-copy {
  position: absolute;
  top: 2em;
  right: 2em;
  width: 20px;
  height: 20px;
  cursor: pointer;
  background: url(../img/link.svg) no-repeat center center;
  background-size: cover;
}

.link-copy::after {
  content: 'Click to copy direct link';
  font-size: 0.85em;
  font-weight: bold;
  position: absolute;
  right: 100%;
  margin: 0 1em 0 0;
  white-space: nowrap;
  pointer-events: none;
  opacity: 0;
  color: #ddd;
  -webkit-transform: translate3d(10px, 0, 0);
  transform: translate3d(10px, 0, 0);
  -webkit-transition: -webkit-transform 0.3s, opacity 0.3s;
  transition: transform 0.3s, opacity 0.3s;
}

.link-copy:hover::after {
  opacity: 1;
  -webkit-transform: translate3d(0, 0, 0);
  transform: translate3d(0, 0, 0);
}

.link-copy::before {
  content: '';
  position: absolute;
  top: 50%;
  left: 50%;
  width: 50px;
  height: 50px;
  margin: -25px 0 0 -25px;
  opacity: 0;
  border-radius: 50%;
  background: #d94f5c;
}

.link-copy--animate::before {
  -webkit-animation: pulse 0.3s;
  animation: pulse 0.3s;
}

@-webkit-keyframes pulse {
  from {
    opacity: 1;
    -webkit-transform: scale3d(0, 0, 1);
    transform: scale3d(0, 0, 1);
  }

  to {
    opacity: 0;
    -webkit-transform: scale3d(1, 1, 1);
    transform: scale3d(1, 1, 1);
  }
}

@keyframes pulse {
  from {
    opacity: 1;
    -webkit-transform: scale3d(0, 0, 1);
    transform: scale3d(0, 0, 1);
  }

  to {
    opacity: 0;
    transform: scale3d(1, 1, 1);
    webkit-transform: scale3d(1, 1, 1);
  }
}

@keyframes octocat-wave {
  0%,
  100% {
    transform: rotate(0);
  }

  20%,
  60% {
    transform: rotate(-25deg);
  }

  40%,
  80% {
    transform: rotate(10deg);
  }
}
htmlは下記のようになります。h2の「id=”Alonso”」とnavの「class=”menu menu–alonso”」の部分を変更することで、様々なスタイルを適用することが可能です。
<section class="section section--menu" id="Alonso">
  <h2 class="section__title">Alonso</h2>
  <span class="link-copy"></span>
  <nav class="menu menu--alonso">
    <ul class="menu__list">
      <li class="menu__item menu__item--current"><a href="#" class="menu__link">Home</a></li>
      <li class="menu__item"><a href="#" class="menu__link">Gallery</a></li>
      <li class="menu__item"><a href="#" class="menu__link">Portfolio</a></li>
      <li class="menu__item"><a href="#" class="menu__link">Clients</a></li>
      <li class="menu__item"><a href="#" class="menu__link">Contact</a></li>
      <li class="menu__line"></li>
    </ul>
  </nav>
</section>
最後に、classie.jsを読み込みます。必ず、</body>タグの直前に配置してください。
<script src="js/classie.js"></script>
<script>
(function() {
  [].slice.call(document.querySelectorAll('.menu')).forEach(function(menu) {
    var menuItems = menu.querySelectorAll('.menu__link'),
    setCurrent = function(ev) {
      ev.preventDefault();

      var item = ev.target.parentNode; // li

      // return if already current
      if (classie.has(item, 'menu__item--current')) {
        return false;
      }
      // remove current
      classie.remove(menu.querySelector('.menu__item--current'), 'menu__item--current');
      // set current
      classie.add(item, 'menu__item--current');
    };

    [].slice.call(menuItems).forEach(function(el) {
      el.addEventListener('click', setCurrent);
    });
  });
  [].slice.call(document.querySelectorAll('.link-copy')).forEach(function(link) {
    link.setAttribute('data-clipboard-text', location.protocol + '//' + location.host + location.pathname + '#' + link.parentNode.id);
    new Clipboard(link);
    link.addEventListener('click', function() {
      classie.add(link, 'link-copy--animate');
      setTimeout(function() {
        classie.remove(link, 'link-copy--animate');
      }, 300);
    });
  });
})(window);
</script>
</body>
以上で完了です。